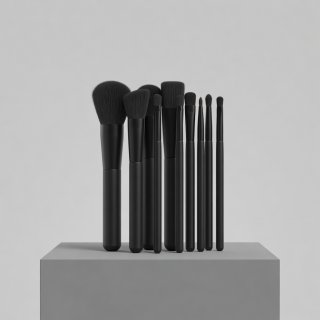
The six brushes
- Flat shader. Packs pigment onto the lid with no fallout. Use it damp for metallics.
- Fluffy blender. Soft, tapered, used with small circles to melt edges.
- Pencil brush. For smoking liner and placing colour precisely in the outer corner.
- Fine liner brush. For stars, rings and graphic shapes. The thinner the better.
- Angled brush. Wings, brows and the Midnight Orbit arc.
- Small lip brush. Sharp lip edges and planet rings.
Wash brushes used with creams after each wear, and powder brushes at least weekly, with a gentle soap or brush cleanser. Lay them flat or bristles down to dry so water doesn't loosen the glue in the ferrule.
Pigments and glitter: read the label
This is the part we're strict about. Not every colourant that's allowed in cosmetics is allowed everywhere on the face. In the United States, the FDA regulates colour additives and some are not approved for use in the area of the eye. In the EU and UK, cosmetic colourants are listed in Annex IV of the Cosmetics Regulation (EC) No 1223/2009, with restrictions on where some can be used. Many vivid neons and certain pressed pigments carry wording such as "not intended for use in the immediate eye area." If you see it, believe it — use it on cheeks or body instead.
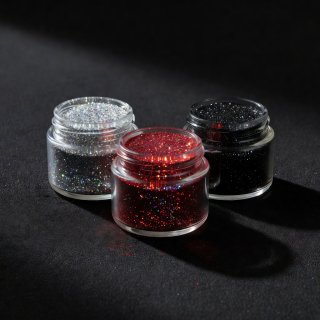
Glitter needs the same care. Use cosmetic-grade glitter, which is cut to a more rounded shape and made from materials tested for skin. Craft glitter can scratch the eye. Apply it with a dedicated glitter glue, never with craft adhesive, and remove it with tape or a cleansing balm rather than rubbing.
Patch-test anything new on your inner arm or behind the ear and wait 48 hours before putting it near your eyes, especially if you have sensitive skin.
Nail kit essentials
For polish work: a base coat, a glossy top coat, a matte top coat, a dotting tool set, a fine striping brush and a clean-up brush dipped in acetone for sharp cuticle lines. For gel work, add a UV/LED lamp matched to your gel system, lint-free wipes, isopropyl alcohol, a silicone tool for chrome powder and a fine-grit file. Keep gels away from bare skin while uncured; repeated skin contact with uncured gel is a common route to allergy.
Removers and the end of the night
An oil cleanser or cleansing balm breaks down waterproof liner and dark shadow without scrubbing. Micellar water on a cotton pad held against the lid for ten seconds lifts stubborn pigment. For nails, pure acetone removes gel and glitter polish fastest; non-acetone remover is gentler for cream polish. Follow with moisturiser and cuticle oil. Your skin is the canvas — look after it.